|
Lighting
Control:
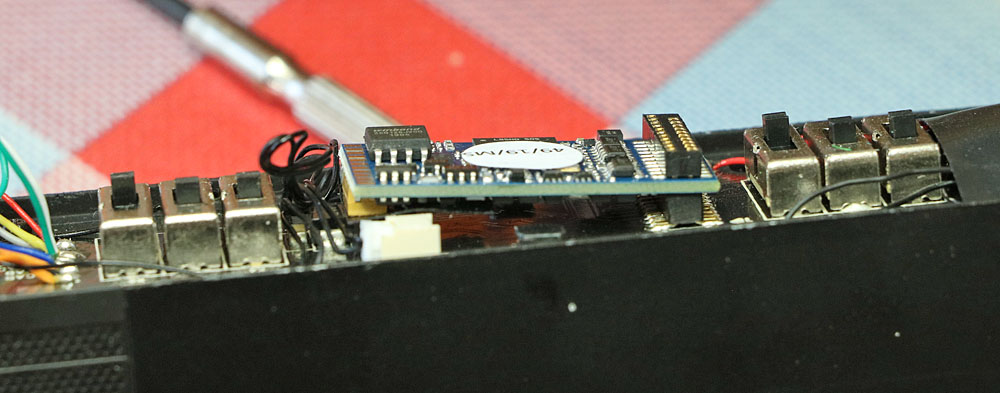
I have now changed the lighting control on all the 66s from Bif's
original concept, to instead provide independent lighting control at each
end of the locomotives. I found this simplified consist operation of
the two DRS 66s I use on military nuclear flask
trains etc. It then made sense to apply the same modifications to the
other Hattons 66s, to maintain a common approach.
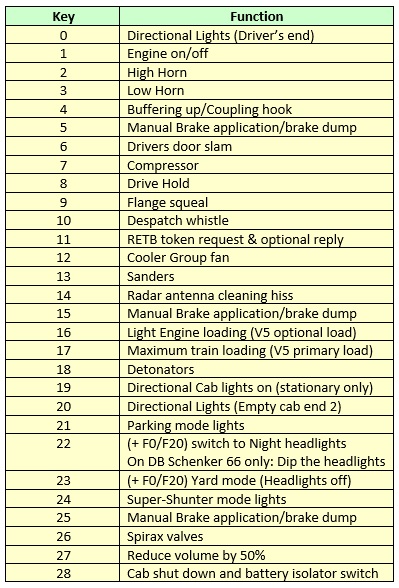
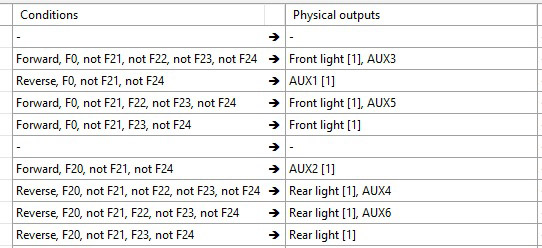
Key
F0 activates directional lighting at the driver's end. Key F20 does
the same at the other end. Key F22 changes headlights from day to
night (except for the DB loco, where it switches headlights from
main beam to dipped.) Key F23 disables headlights for in-yard work.
With
other lighting keys off, Key F21 activates parking rears at each end
and Key F24 alternately flashes marker and rear lights at both ends
as warning lights when shunting.
Key
F19 activates the forward cab light in the direction of travel but
only when the locomotive is stationary.
The LokSound V5 MKL has enough full power function outputs to drive
rears, markers, day & night headlights and cab lights independently
at both ends of the locomotive. This means that variations on Biff's
original lighting control theme can be largely achieved using a LokProgrammer
to change the function mapping.

Table indicates the
LokSound V5 MKL decoder function outputs used for each lighting function
Function
Mapping update for the Lighting:
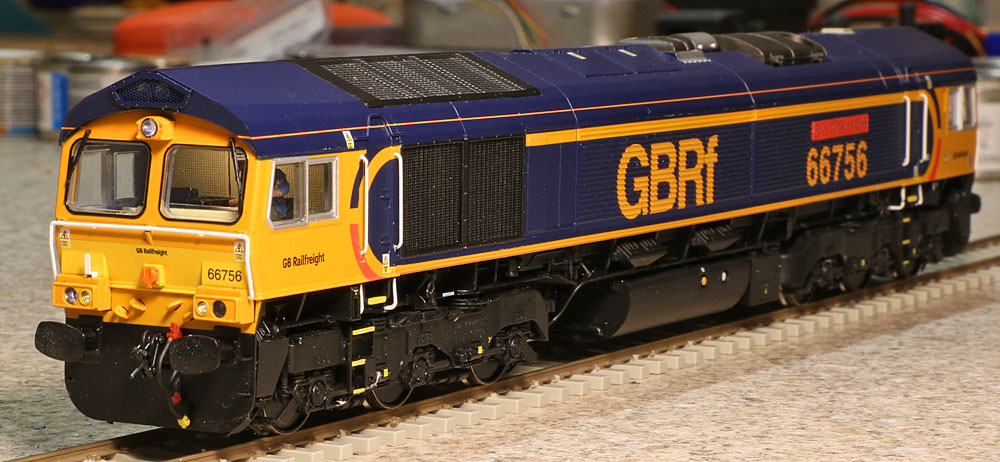
GBRF,
Freightliner and DRS locos are driven with the short cab / roof fan
vent end forward.
The
lighting sections of the function mapping for these locomotives are reproduced below as
they appear on the LokProgrammer screen.
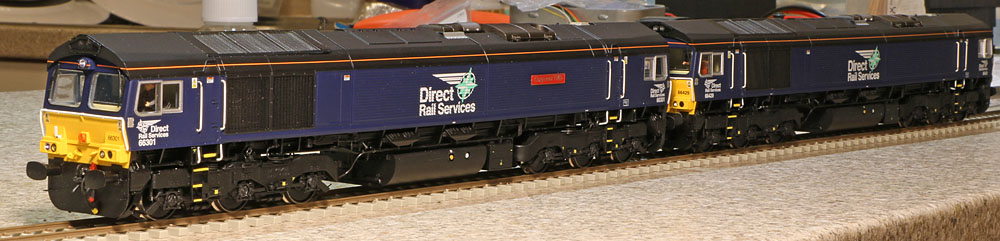
Colas
and DB Schenker locos are driven with the long cab / roof exhaust
end forward. Mapping for these locos is as follows:
(The
direction control of these two locos is reversed via CV21.)

Cab
lights, parking lights and super-shunter lights are common to all
locos. Mapping of these is as follows:

(The
mode [2] front and rear plus Aux1 and Aux2 light configuration outputs flash alternate markers and rear
lights.)
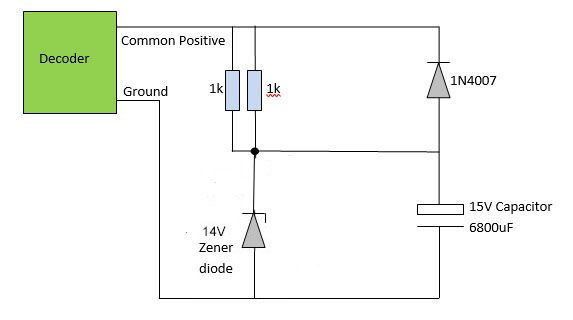
Dimming the
upper marker lights:
As
received, the upper marker lights are typically brighter than the
headlights on all the Hattons 66s. To
reduce the intensity of these lights, an additional
series resistor (value circa 39k) has been added at both ends of
the locomotive.
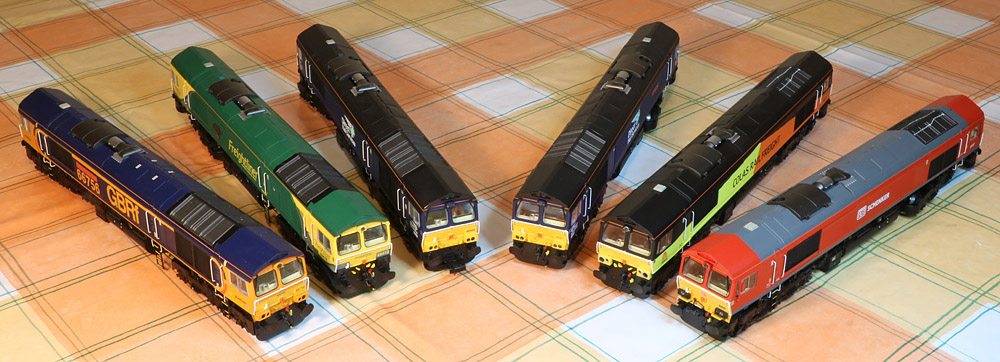
Hatton's
66 variants with large headlights:
e.g.
My Freightliner and Colas 66s..... An
unfortunate design error resulted in only a single lower marker
light coming on at any time, together with the headlight on the
opposite side. Fixes for this issue
are described in some detail in another of my web pages. (See site menu).

Large headlight
Freightliner 66.
Specials:
My DB
Schenker 66 has modified headlights with corresponding changes to
the markers, to simulate the new all LED Wipac lighting modules on
some DB locomotives. These mods are described in detail on another
dedicated web page (see site menu).
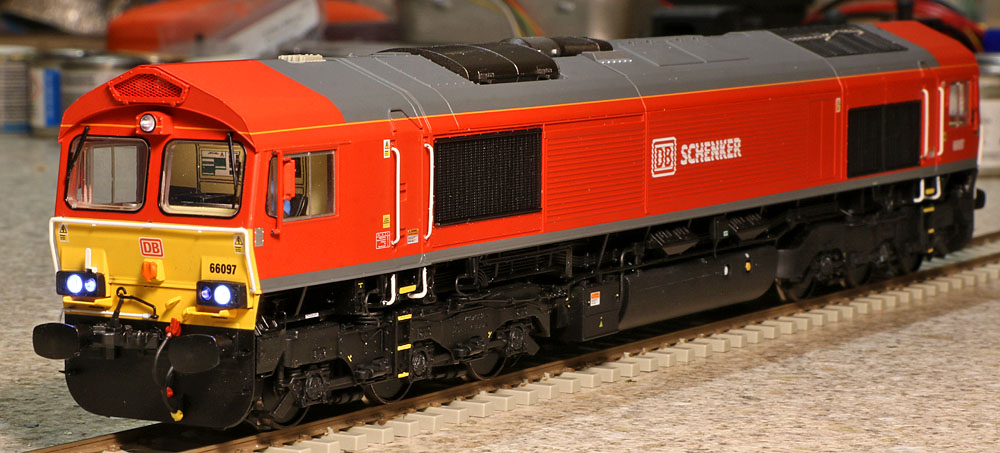
DB Schenker 66 with
modified headlights.
|