| Proposed new FO mapping
arrangements:
|
Select |
Action |
Direction & Key |
Condition, F Key, FO(s) |
Mapping
line |
|
End 1
Mkr/rears |
Set
End 1 directional markers and rear lights (LokPilot
FX) |
Fwd
F20 |
Fwd,
F(20), LP White (FO H/L) (F0 & F26 off) |
LP 1 |
|
Rev
F20 |
Rev,
F(20), LP Yellow (FO R/L) (F0 & F26 off) |
LP 2 |
|
|
|
End 2 Mkr/rears |
Set
End 2 directional markers and rear lights (LokSound) |
Fwd F21
|
Fwd, F(21),
LS white (FO H/L) (F0 & F26 off) |
LS27 |
|
Rev F21 |
Rev,
F(21), LS Yellow (FO R/L) (F0 & F26 off) |
LS35 |
|
Select |
Action |
Direction & Key |
Condition, F Key, FO(s) |
Mapping
line |
|
Day
headlights |
Set
End 1 day H/L fwd only if F20 active (LokPilot FX) |
Fwd
F22 |
Fwd,
F(22), LP (FO 1) (F20-on) (F23 off) |
LP3 |
|
Set
End 2 day H/L rev only if F21 active (LokSound) |
Rev
F22 |
Rev,
F(22), LS (FO 1) (F21-on) (F23 off) |
LS28 |
|
|
|
Night Headlights.... |
Set End
1 night H/L fwd only if F20 active (LokPilot FX) |
Fwd F23
|
Fwd,
F(23), LP (FO 2) (F20-on)
(F22 off) |
LP4 |
|
Set
End 2 night H/L rev only if F21 active (LokSound) |
Rev F23 |
Rev, F(23),
LS (FO 2) (F21-on) (F22 off) |
LS29 |
|
Select |
Action |
Direction & Key |
Condition, F Key, FO(s) |
Mapping
line |
|
Parking
Rears |
Set
rear lights at both ends (LokSound & LokPilot FX) |
Both F0
(Stationary only) |
F(0), LP
Yellow (FO R/L) (F20 & F21 off)
F(0), LS white (FO H/L) (F20 & F21
off) |
LP 5
LS 5 |
|
|
|
Super
Shunter mode |
Flash
rears and markers alternately (LokSound & LokPilot
FX) |
Both F26 |
F(26),
LP config 2 FOs H/L & R/L, flash mode, R/L phase shift,
(F0 & F20 & F21
off)
F(26),
LS config 2 FOs H/L & R/L, flash mode, R/L phase shift,
(F0 & F20 & F21
off)
Flash speed via CV112 =20 (LP & LS) |
LP7
LS32
|
|
Select |
Action |
Direction & Key |
Condition, F Key, FO(s) |
Mapping
line |
|
End 1
Cablight.... |
Set cab
light (LokPilot FX) |
Both F12
(Stationary only) |
F(12),
LP orange (FO3) |
LP 6 |
Programming
LokPilot CVs
for new lighting arrangements:
|
Mapping
line |
Key
|
Alpha
values |
CV32 |
Actual CV values |
|
1 |
F20 > |
CVA=36,CVF=16,CVH=2,CVK=1
|
2 |
257=36, 262=16, 264=2, 266=1 |
|
2 |
F20 < |
CVA=40,CVF=16,CVH=2,CVK=2 |
2 |
273=40, 278=16, 280=2, 282=2 |
|
3 |
F22 > |
CVA=4,CVF=16,CVG=9, CVK=4 |
2 |
289=4, 294=16, 295=9, 298=4 |
|
4 |
F23 > |
CVA=4,
CVF=16,CVG=6, CVK=8 |
2 |
305=4, 310=16, 311=6, 314=8 |
|
5 |
F0 <> |
CVA=18,CVF=160,CVK=2 |
2 |
321=18, 326=160, 330=2 |
|
6 |
F12 <> |
CVA=2,CVD=16,CVK=16 |
2 |
337=2, 340=16, 346=16 |
|
7 |
F26 <> |
CVA=32,CVF=160,CVH=1,CVL=48 |
2 |
353=32, 358=160, 360=1, 363=48 |
|
0 |
355=12, 363=12, 367=1, 112=20 |
Programming
LokSound CVs
for new lighting arrangements:
|
Mapping
line |
Key
|
Alpha
values |
CV32 |
Actual CV values |
|
27 |
F21 > |
CVA=36,CVF=64,CVH=2,CVK=1 |
3 |
417=36, 422=64, 424=2, 426=1 |
|
35 |
F21 < |
CVA=40,CVF=64,CVH=2,CVK=2 |
4 |
289=40, 294=64, 296=2, 298=2 |
|
28 |
F22 < |
CVA=8,CVF=64,CVG=9,CVK=4, |
3 |
433=8, 438=64, 439=9, 442=4 |
|
29 |
F23 < |
CVA=8,CVF=64,CVG=2,CVK=8 |
3 |
449=8, 454=64, 455=6, 458=8 |
|
5 |
F0 <> |
CVA=18,CVF=160,CVK=1 |
2 |
321=18, 326=160, 330=1 |
|
6 |
- |
clear CVA & CVK to zero |
2 |
clear out 337onwards |
|
32 |
F26 <> |
CVA=32,CVF=160,CVH=1,CVL=48 |
3 |
497=32, 502=160, 504=1, 507=48 |
|
0 |
355=12, 363=12,367=1,112=20 |
All working as planned!
|
Key |
Function list
(Lighting options
highlighted) |
|
F0 |
Parking
rears |
|
F1 |
Sound On/Off
and engine start/stop. |
|
F2 |
Playable High Note Horn. |
|
F3 |
Playable Low Note Horn. |
|
F4 |
Buffer Clash/Buffering up when moving slowly. |
|
F5 |
Air Release (Air Dump). |
|
F6 |
Drivers door slamming. |
|
F7 |
Compressor Startup. |
|
F8 |
Dynamic Braking Fan Enable. |
|
F9 |
Flange/Wheel Squeal Enable. |
|
F10 |
Dispatcher's whistle. |
|
F11 |
|
|
F12 |
Cab light |
|
F13 |
|
|
F14 |
Notch-up. |
|
F15 |
Notch-down. |
|
F16 |
|
|
F17 |
General Electric Skipfire Idle Enable. |
|
F18 |
Triple Detonators. |
|
F19 |
Set zero momentum
(for test purposes only). |
|
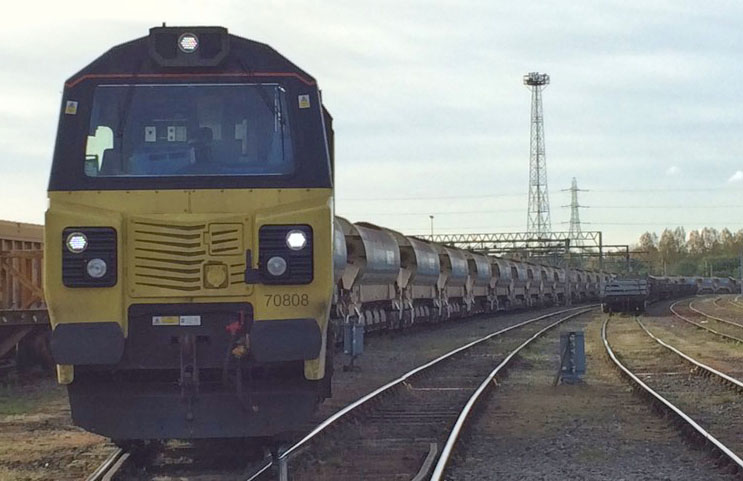
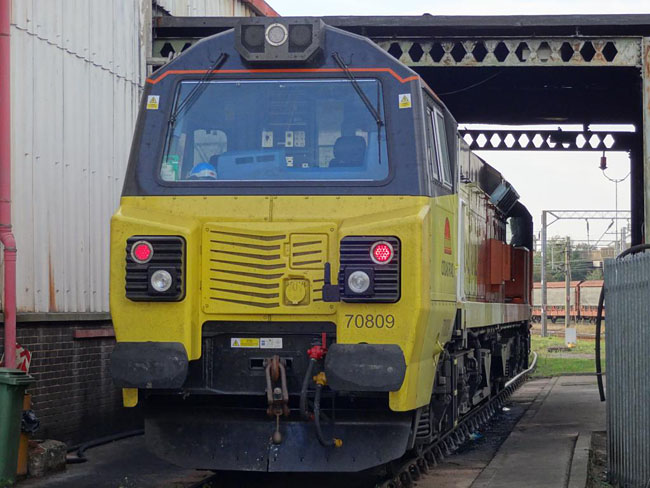
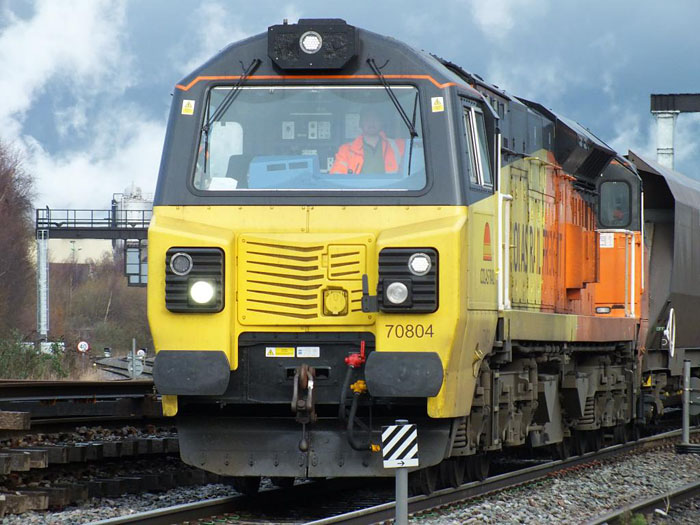
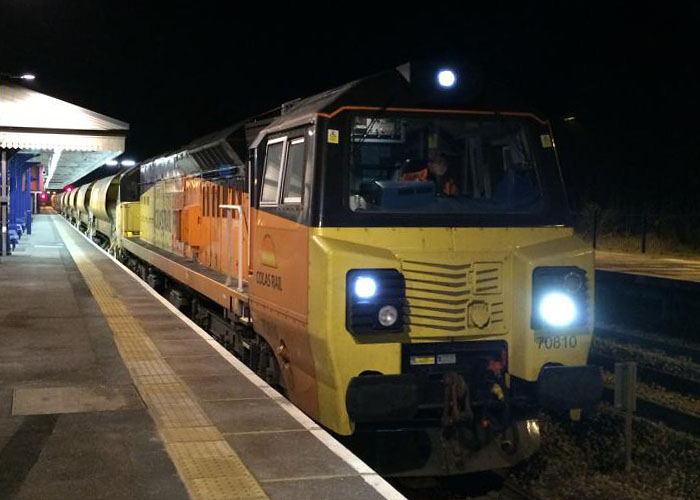
F20 |
End 1 markers & rears |
|
F21 |
End 2 markers & rears |
|
F22 |
Day headlights |
|
F23 |
Night headlights |
|
F24 |
|
|
F25 |
|
|
F26 |
Alternate rears &
markers: Super shunter mode. |
|
F27 |
|
|
F28 |
|
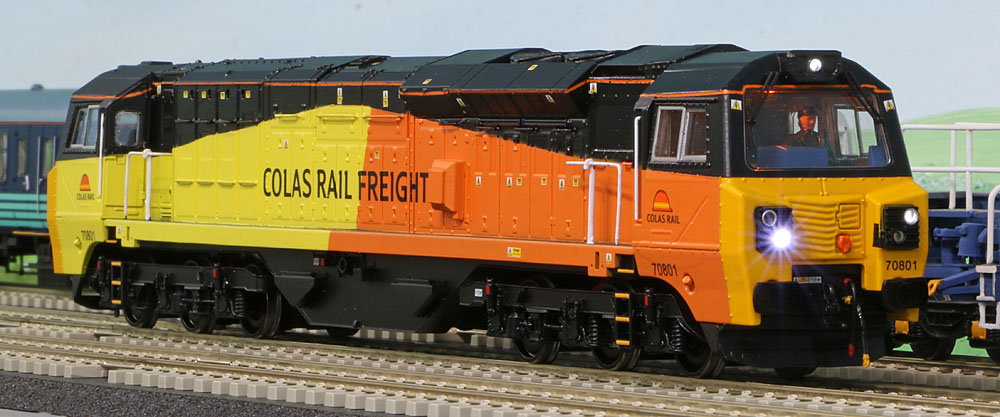
The completed
function list mirrors the freightliner Class 70 except for the
lighting,
which is now simpler
to set up and has slightly different functionality.
|